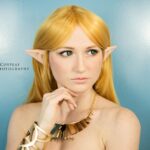
Princess Zelda Breath of the Wild Costume
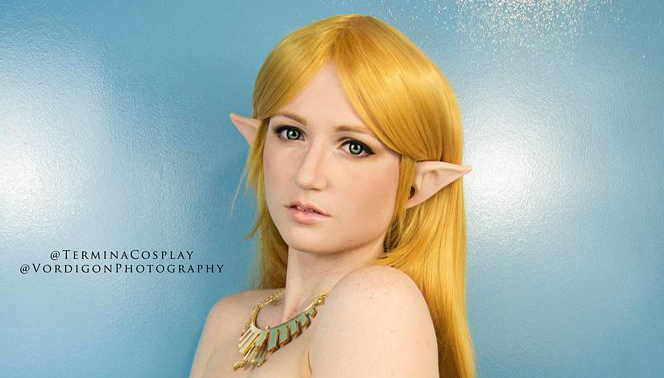
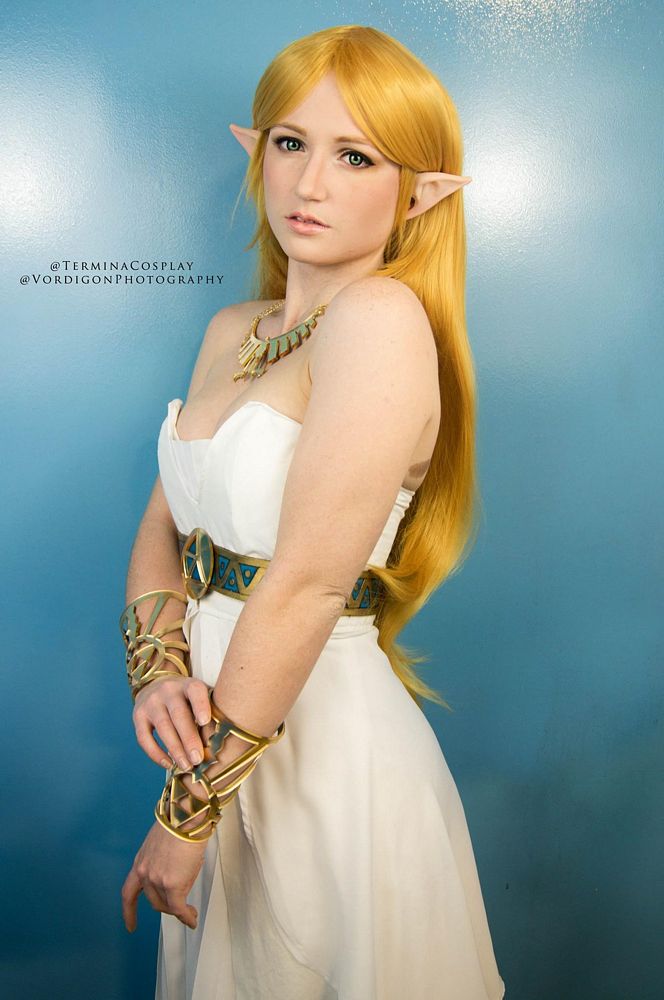
 As soon as soon as I saw the trailer for The Legend of Zelda: Breath of the Wild for the Nintendo Switch, I desperately wanted to make Zelda’s beautiful white dress, and when I found the perfect fabric for $2 a yard, I simply couldn’t help myself! I have been wanting to cosplay from The Legend of Zelda again for quite some time, and this gave me the perfect opportunity!
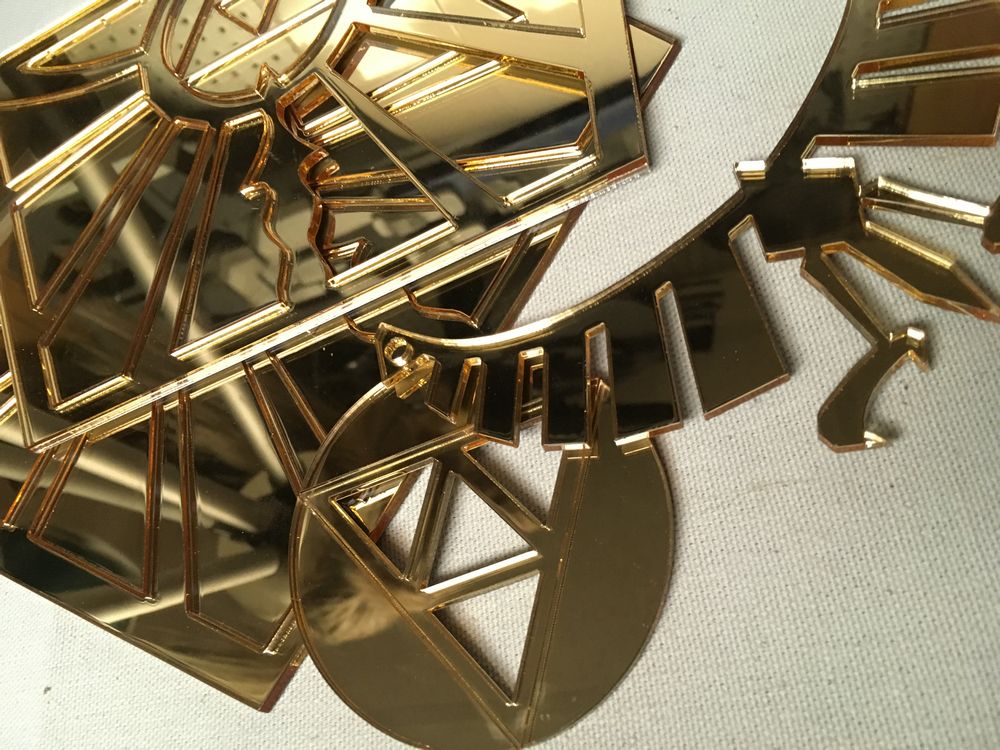
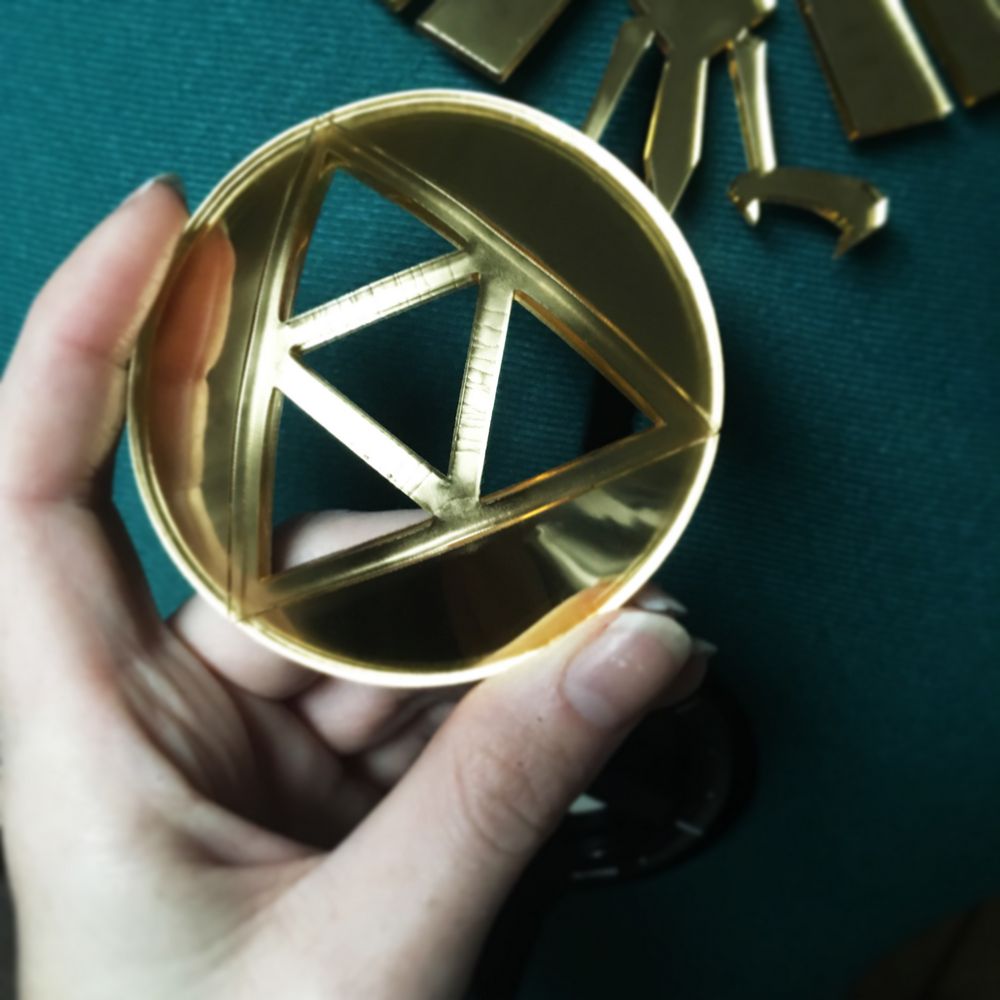
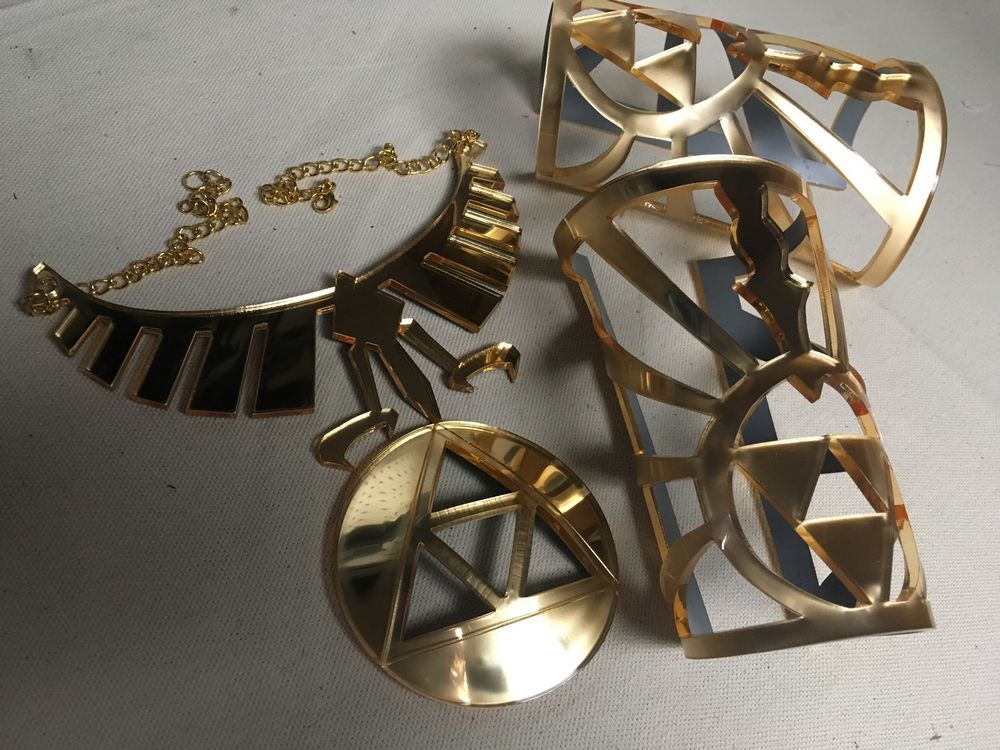
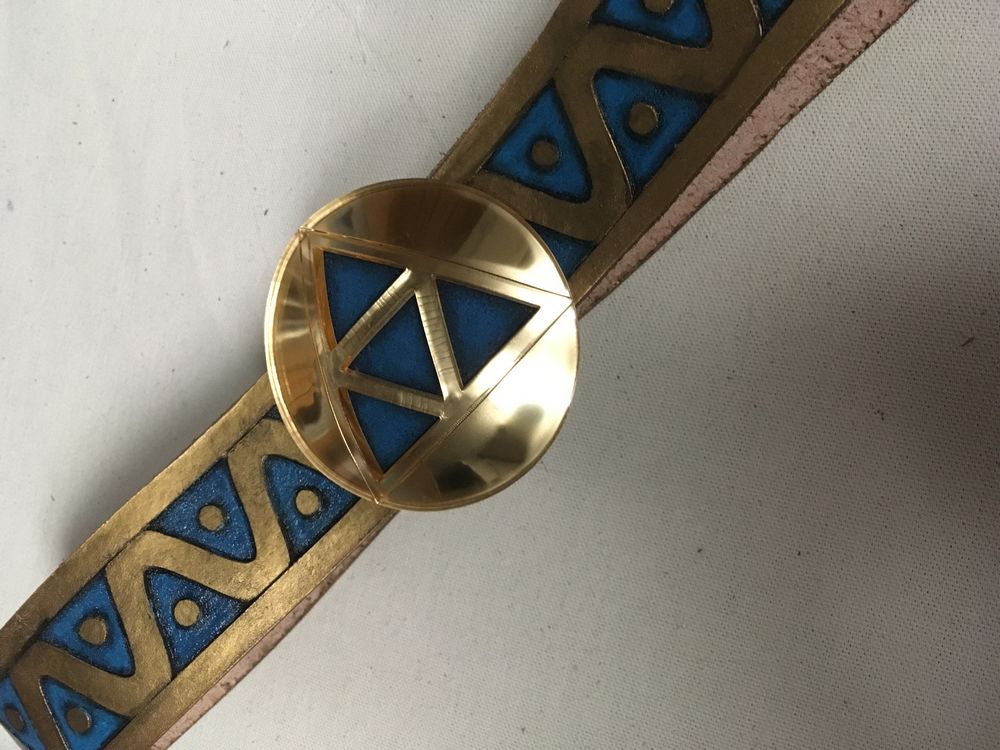
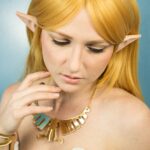
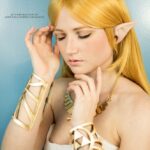
I immediately got to work designing the jewelry Zelda wears. I wanted it to be perfectly smooth and super shiny, so I opted to use mirrored gold acrylic and laser cut the designs. Once the pieces are cut, its only a matter of heat forming them to their proper curves. The necklace and the belt buckle were easy, but the bracelets gave me a lot of trouble. It took 4 tries and a lot of wasted acrylic before I got the sizing and design right!
Textile Work
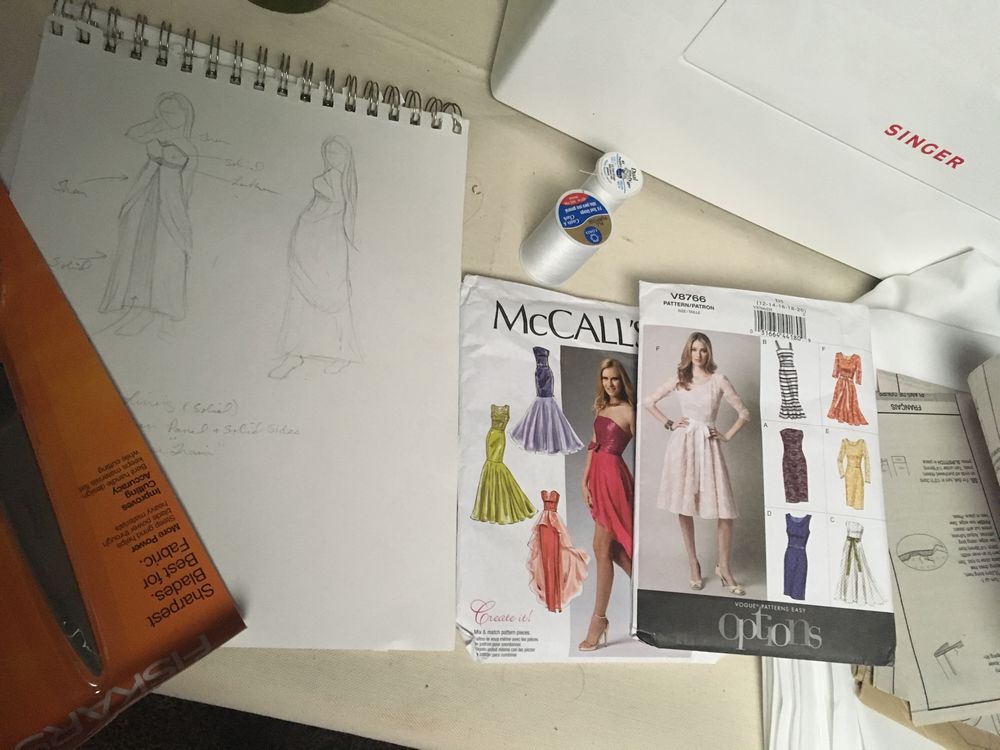
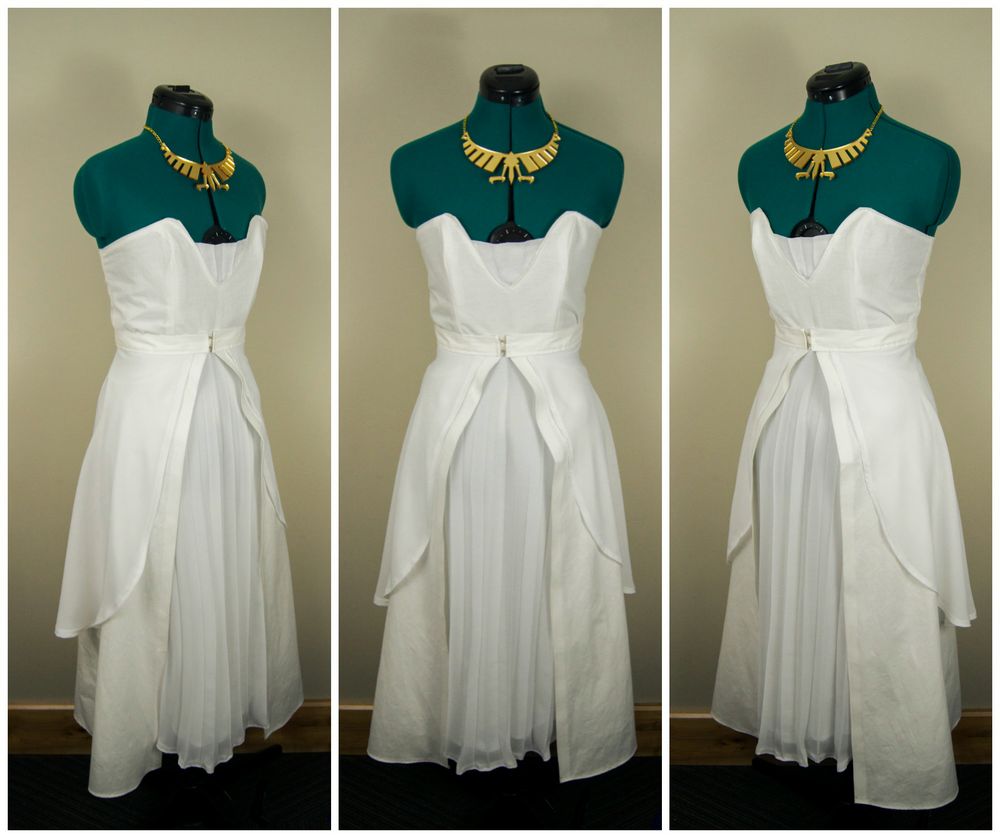
The dress was made by altering and combining two patterns from McCall’s and Vogue Patterns. I needed the basic shape from one pattern, and the high-low overskirt from the second pattern. I love making costumes by altering existing patterns! It gives me a place to start and build from without forcing me to draft an initial pattern myself! I always start by cutting out the pattern pieces needed and pinning them to my dress form to see the shape they would take on my body. I then pin and shape the pattern pieces into the silhouette I want garment to take.
For this dress, I had to take a lot of the volume off the skirt, but also lengthen it so that it would reach my ankles. I also shaped the neckline to look more like Zelda’s dress. The skirt is made with four different layers of fabrics, all which flow freely from each other to keep a elegant and fluid look. I also added boning into the seam lines of the top to give it shape and support. I was able to complete the dress in only a day and a half and I am thrilled with the anticipation of wearing it!
The Belt
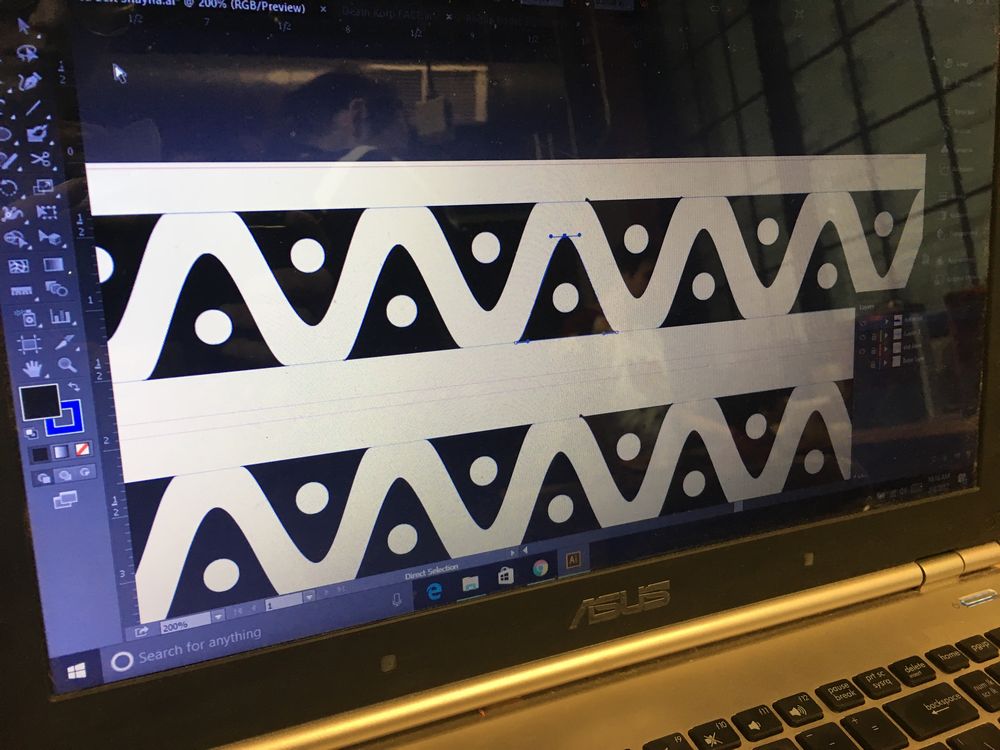
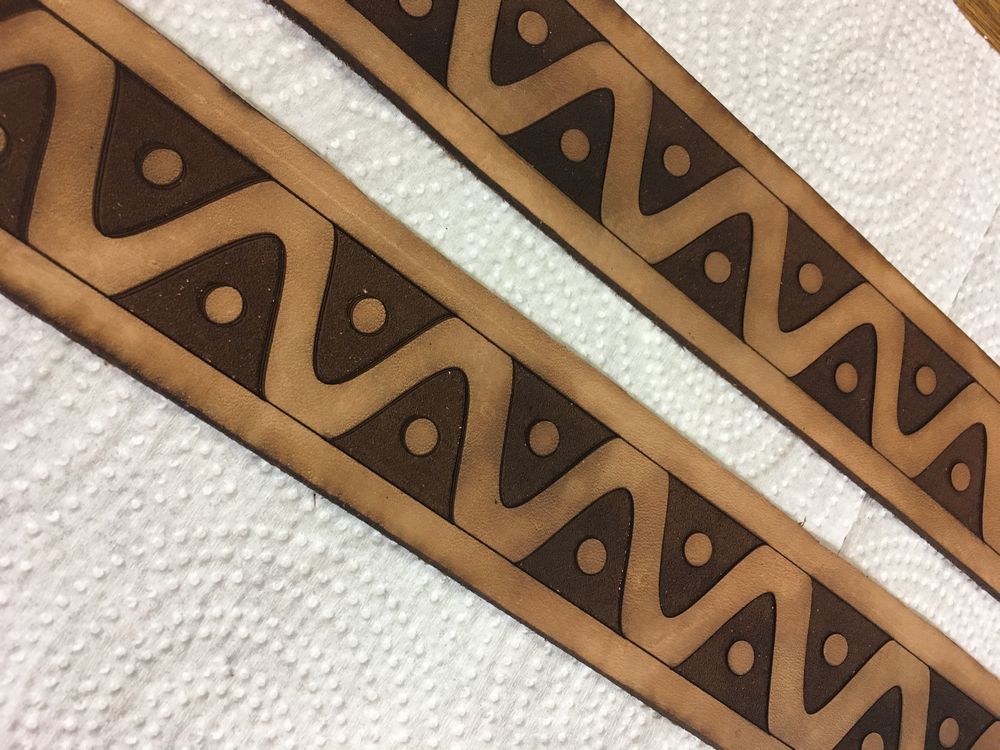
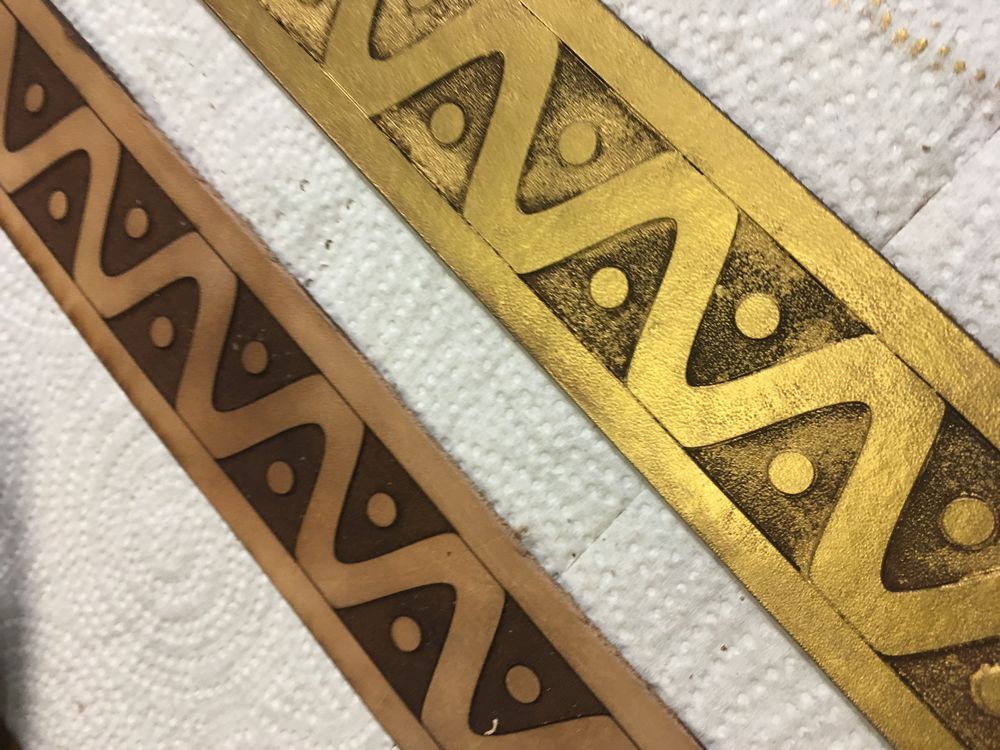
The belt was the final piece I had to make before the costume could be complete. I chose to make it with leather because I wanted to keep the quality high and last a long time. To make things easier, instead of tooling the leather, I used a laser cutter to engrave the design.
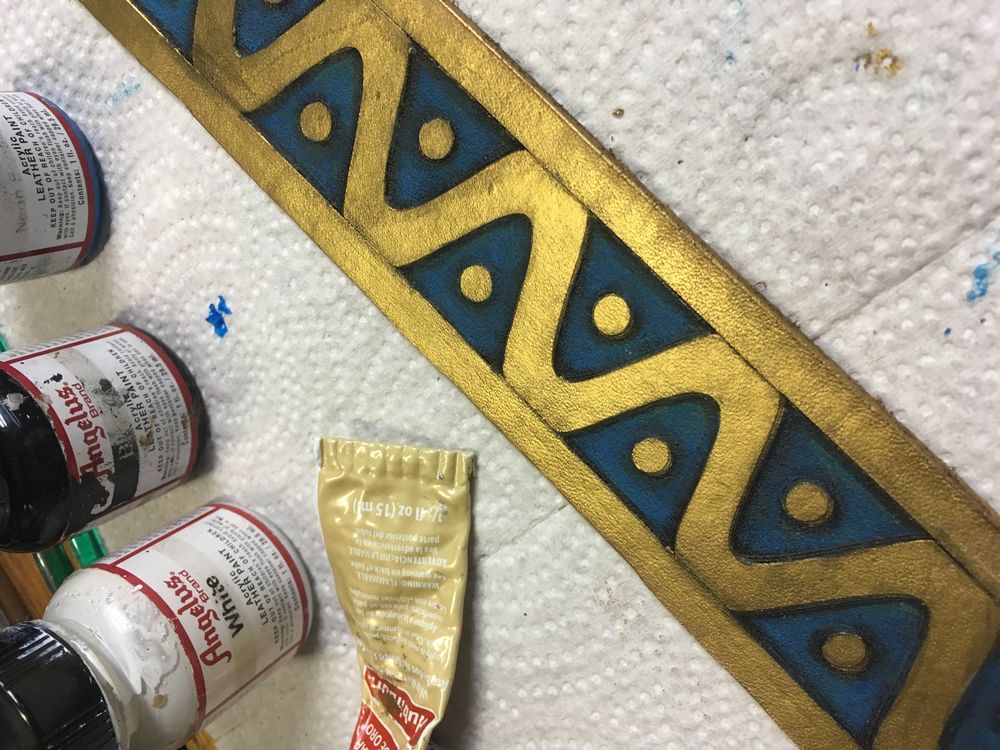
To finish it, buffed the leather with jojoba oil to clean it and to add some moisture back in after being under the laser. I then buffed the entire belt with gold metallic wax and painted the blue details with leather paints. Last I sealed it with a clear coat, attached the belt buckle, and added a snap to the back for easy off and on.

