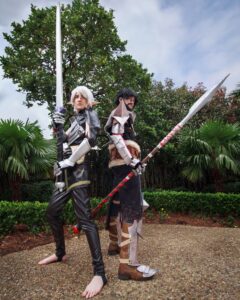
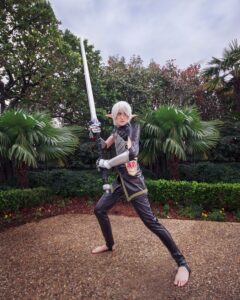
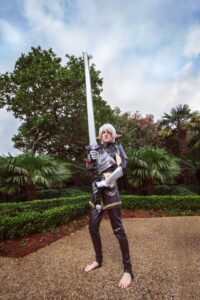
Fenris Costume
by Deanna
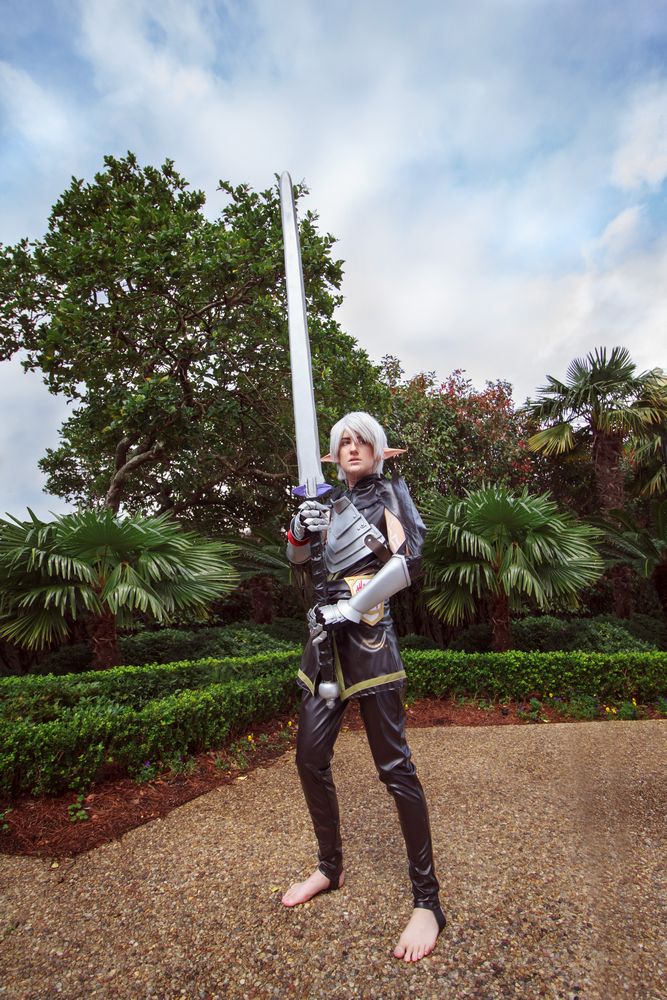
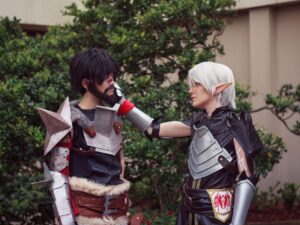
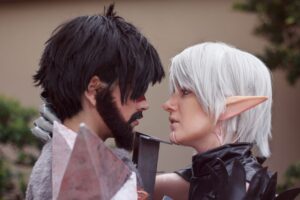
I started playing Dragon Age this year and I instantly fell in love with Dragon Age II. The characters were so well done and Fenris was definitely my favorite. His character development, personality, and his relationship with Hawke (in a romance) was so appealing to me. I also absolutely loved his design, but when I first considered cosplaying him I was a little intimidated. I had never made armor so I decided to ask my friend Eitanya Designs, who is an amazing cosplayer who had also made a Fenris costume. She talked me through the steps of working with PVC and gave me some of her paper patterns which were extremely helpful in figuring out how I would want to make mine. The next week was spent planning everything out and gathering my materials!
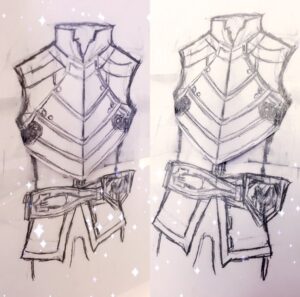 I always like to start by drawing out the entire costume to get an understanding of what I’ll be making, and how I might make each piece.
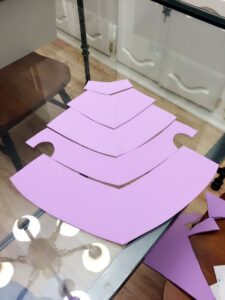
Here is the pattern I made for the chest piece! I used cheap craft foam for a test first, and then traced it onto my PVC sheet. I used a band saw to cut everything out and a bench grinder to soften the edges.
The chest is made up of 5 pieces, layered on top of the other. I formed them to my chest with a heat gun. You have to be pretty quick doing this, it’ll only stay flexible for a few seconds before it hardens into place.
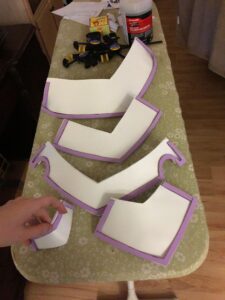
Here it is before I attached it all together! I decided to go with craft foam trim for the edges. I glued one layer together at a time starting from the top. I heard about the googly eye rivet method and it worked very well, I highly recommend trying it out! I used Rust-Oleum Automotive Primer and Rust-Oleum Metallic Spray paint to make everything look more armor-like.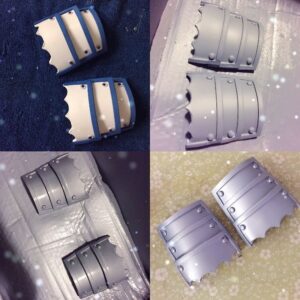
The next thing I worked on were the gauntlets! The gauntlet consists of 3 parts, the main arm piece, the front of the hand and the claws.
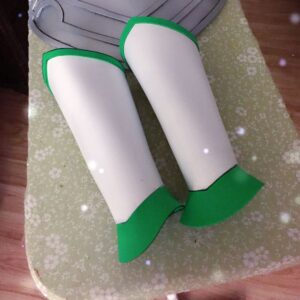
Here’s what the gauntlet looked like before spraypaint! PVC and craft foam just like the chest piece, except I went with craft foam on the very front as well because it was easier to curve and super glue on.
The front of the hand was done exactly like the chest piece as well!
I painted the creases in black acrylic paint and wiped away the excess to create a slightly worn, weathered look! I also added a cool glowing lyrium effect at night with some LED lights.
The claws were the hardest part of the armor. I had to carefully shape each one to my fingers on a glove base and super glue them on while it was on my hand. Of course I wore a latex glove underneath to protect my skin from the glue.
For the Amell shield I used a stencil and spraypainted the crest on. I touched it up with acrylic paint and a fine-tipped brush!
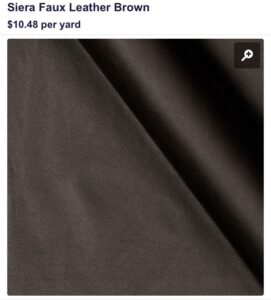
This is what I ordered from Fabric.com for the top, pants, and belt. It had a nice stretch to it which I wanted so I could move around and sit down without any problems.
I ALWAYS do a mockup to make sure everything fits and looks like it should before cutting out the actual fabric.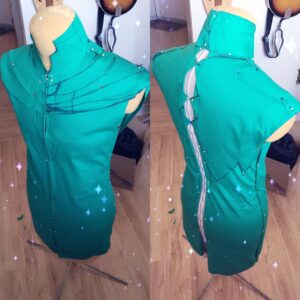
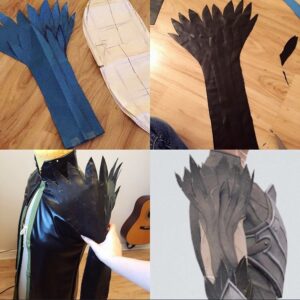
For the arms I did two layers, one that goes under that has wire inside and the over layer that I glued on! The sides of the arm piece are zig zag stitched to make it look more finished and then I also stitched the edges of the feathers to keep it in place. There’s a strap around my elbow that keeps it on my arm and it’s attached on both sides of my shirt and tucked into the gauntlet.
The belt and pants were the easiest and I sewed those together the morning of the convention, though I don’t recommend doing that haha.
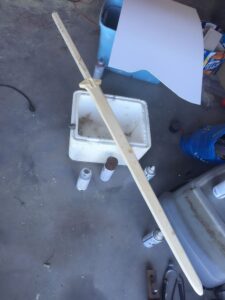
The sword was made out of a 1x6x6 pine board with the help of my dad. We measured it out and drew the design, then used a table saw to cut it out. The sword was cut at a 45 degree angle to form the blade shape and then sanded with a disc sander and band saw for the smaller parts. It was primed and spray painted and duct tape was used for the handle.
I spent 2 months working on Fenris and I learned a ton about PVC, using power tools, painting, prop making, I’m always looking to challenge myself more and more in my costuming! Thank you so much for reading my article and I hope it was helpful for anyone wanting to make a Fenris costume or learn more about armor making!
Products Used:

