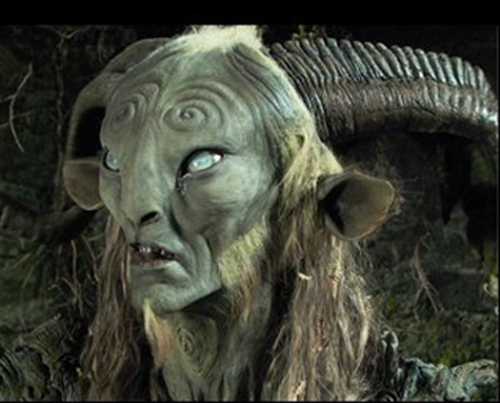
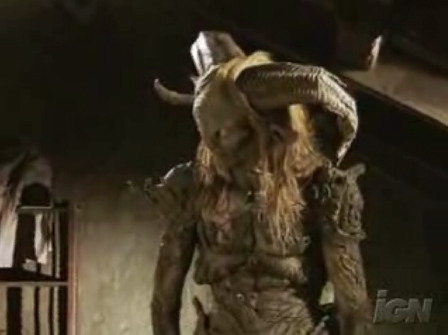
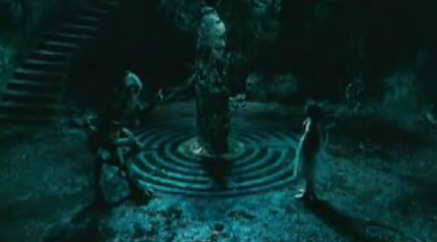
Faun from Pan’s Labyrinth .
By Michael Bielaczyc
So I am starting with the basic ideas of my Narnia faun, and taking it ten steps further.
Faun Satyr Pants
Narnia Faun costume
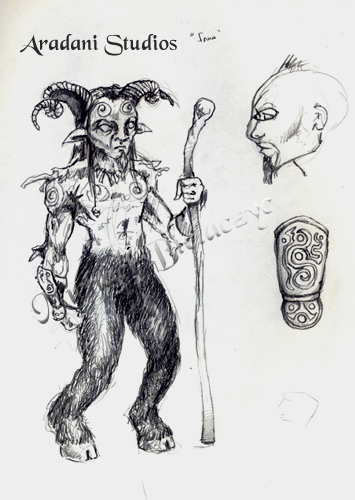
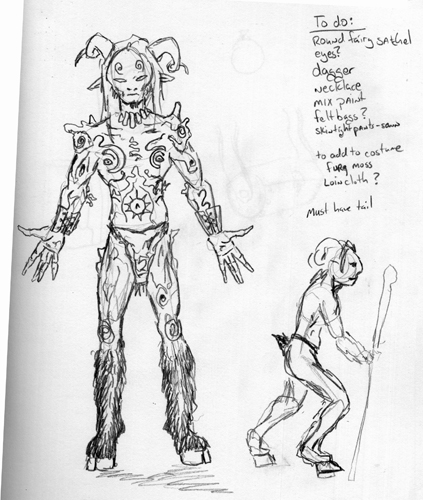
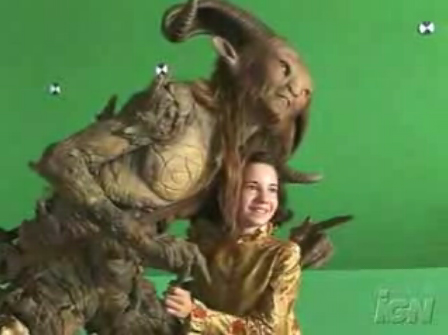
Below are the sketches and reference photos for the project. The first thing I decided was that I couldn’t have the really long legs that the movie featured. Sadly CGI is a little hard to pull off in real life. What I am looking to do is to capture the feeling of the costume instead of a direct emulation. Maybe its the artist in me, I just like to add my own style and personal touches to many costumes.
|
Aradani Design |
||
|
Body designs – rough
|
First Concept
|
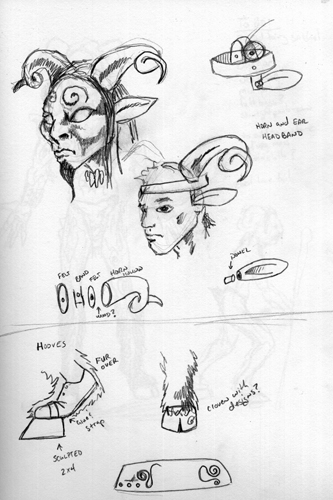
Headpiece designs and hoof designs.
|
|
Reference Photos
|
||
|
|
|
|
Pan Faun
Body designs – rough
First Concept
Headpiece designs and hoof designs.
Reference Photos
The Head and Mask
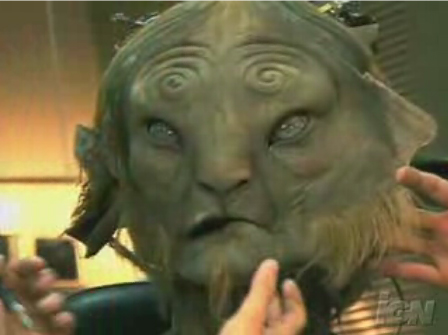
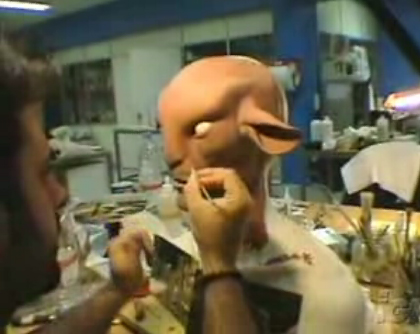
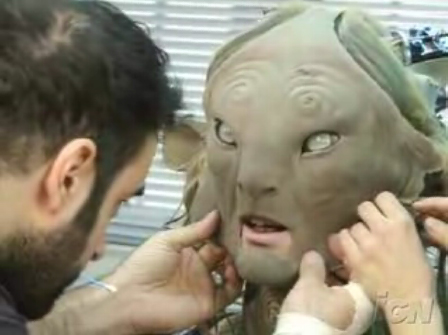
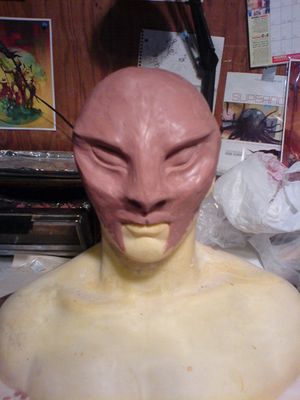
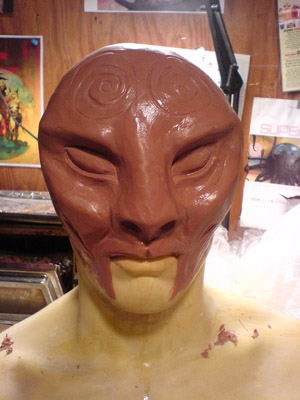
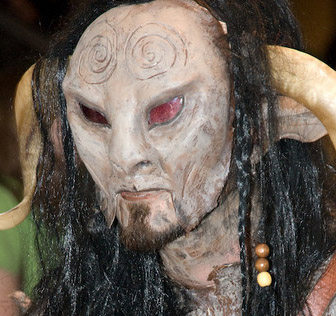
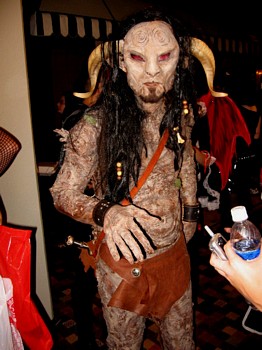
Probably the most important part of the costume, I was really reluctant to start on it. I had a finished design for the horn headpiece and I had also finished the faun ears, but I was afraid to start on the mask. I wanted to make it out of foam, but as I am only really familiar with latex, I decided to go that route. I sculpted it much like his mask, being a full face cover minus the mouth area.
This shows the progression of the mask. Once in latex, I painted it with a grey brown acrylic paint, which allowed me to match it to the rest of the costume. I also painted my own skin with this color (with the assistance of Emily), which really helped bland in the seams. My only problem was that due to all the sweat and lack of a good bottle of spirit gum in our room, the bottom of the mask would not stay stuck on.
You can purchase the mask now on our Mask Page!
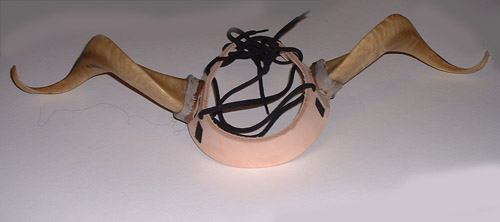
Horns – For the horns i ordered some goat horns off of ebay for $20. I then glued some wood in the hollow ends which allowed me to attach it to a thick leather strap (from Tandy Leather). I then tie it in the back wit ha shoelace and criss crossed a shoelace across the top to make sure the horns didn’t droop. I also put velcro on either side of the temple, and then did the same inside the mask allowing a quick attachment of the upper portion of the mask to the headpiece.
Ears – We are currently resculpting our faun ears. We had one that was tilted a little too far back. If you need some ASAP, please send us a mail at sales@aradani.com and we will get some of the ones i wore mailed out to you (for $15 plus shipping).
Wig – I actually used my old wig from the Moria Orc Costume. I added a bit of velcro to the front of the wig and put a piece at the very top of the mask. The glue didn’t hold to well, but the next time I where the costume I will reinforce it with some superglue. I used a black wig to match with the fur i used on the legs and my own hair. His hair was pretty matted, so the tangles, beads and bones seemed to fit.
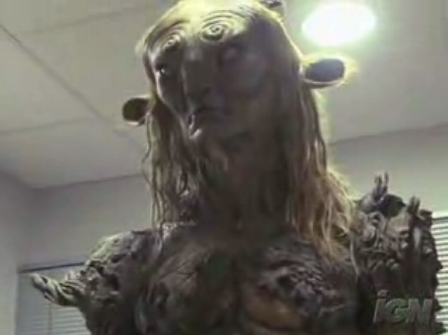
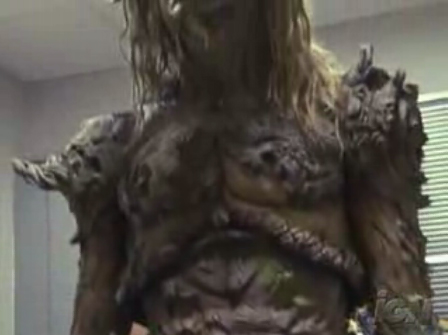
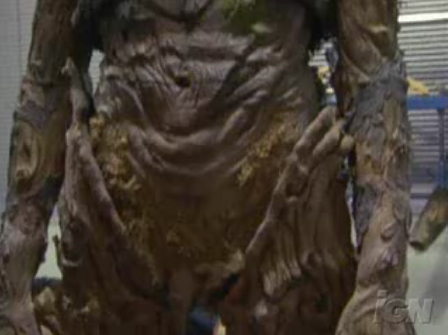
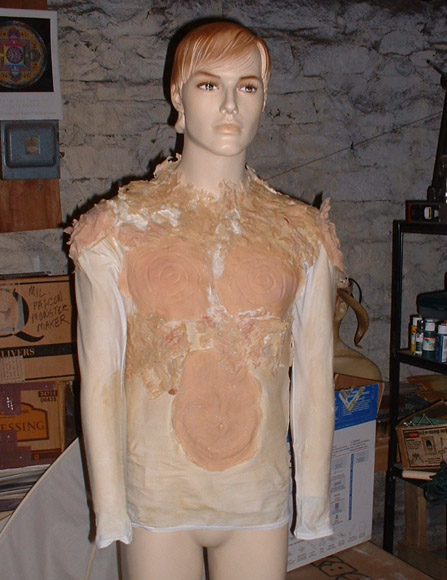
Torso – This was the most time consuming part of the costume. I started with a spandex shirt that was very snug. I then wrapped myself in plastic wrap, put on the shirt and painted a coat of latex over my whole torso. this created a shape that was perfectly molded to my body. The one problem was that I did this in the morning before I had eaten anything, so it made it a very tight fit to wear anytime after that. But you have to suffer for your art right?
Above is the torso as I started to add the different sculpted parts as well as the latex scraps that made the bark like texture. Our seamstress Laura helped me attach the large pieces by sewing them in place and also attaching a hidden zipper in the back so i could get in and out a little easier (though I still needed a lot of baby powder to squeeze in). I got a little nervous at this stage as the body didn’t feel right, but I kept telling myself that once it was all painting it would bring it together. I think it did.
Pants and Hooves – The hooves were pretty simple. I sculpted a set of hooves, made a mold and then poured a set of heavy duty latex prosthetics. I then attached it to the end of a shoe with velcro. At the crown of the hoof, i added a bit of velcro and a bit to the inside of the pants, so it kept the fur in place around the edge of the hoof.
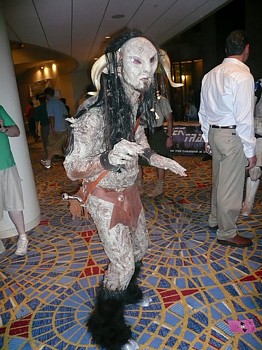
The pants were the last thing to be completed. They were a set of tight muslin pants which shifted to fur a little below the knee. I knew I couldn’t make legs as crazy as his were in the movie, and also I am no stilt walker so I just went with the closest thing possible. When I posed for cameras, I stood on the balls of my feet, which gave a little bit of the shape of the faun style leg.
Hands – I sculpted hands close to my own and made a full glove prosthetic for them. The only problem I have with this part is the seam line around the middle of the hand. But I don’t think anyone noticed.
Accessories –
Loincloth – He didn’t have one in the movie, but I needed something to hide the transition between my torso and the pants.
Leather bag – He carried a couple of things in the movie including the fairy cylinder pouch. I tried to finish a leather version of that, but didn;t get it done in time. Instead I used a rough looking leather pouch with the quest dagger hanging out of it.
Bracers – Simple leather bracers to hid the seam between the glove and sleeve.
In the end I am very pleased with the costume. I plan on fixing a few problems with it and finishing a few more accessories and being in the masqarade at a couple of conventions next year.
If you are interested in having me build a Pan costume for you, the rough estimate would be between $800 and $1600, depending on the amount of detail you want.
Original plans:
Headgear – the faun ears and horns will attach to this. I have already purchased some really nice goat horns from Ebay ($20.00). I will cover this with a long wig.
Mask – I am unsure if this will need a understructure, so this may be more complicated than I hope it will.
Torso – I am going to make a latex “shirt” to give my body the strange texture that his did.
Pants- I am trying to find some nice brown-black faux fur to make the leggings out of.
Hooves- These will be made out of wood, which will lift me off the ground a bit and give a different shape to my leg. I will also make some shoe hoof covers so if can put those on and walk around more comfortably at the conventions.
Bracers – this will mask the area between the shirt sleeve and my hand.
Necklace – a bone-wood necklace will be used to cover the neckline of the shirt.
Staff – I will probably need a staff to help support myself on the hooves, but this is optional at the moment.
Debut: Dragon Con 2007 (tentative)
For more ideas, please visit our other tutorials. If you have any suggestions or questions, please email sales@aradanicostumes.com .

