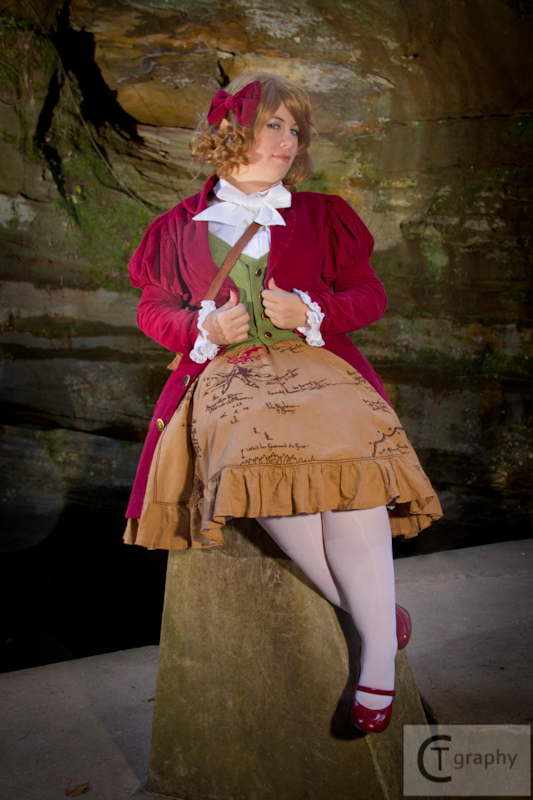
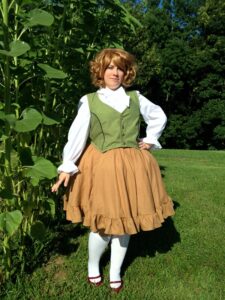
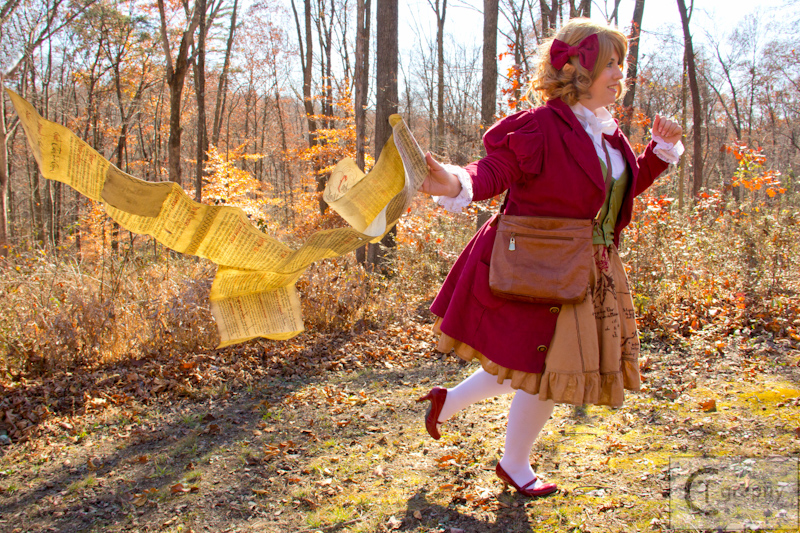
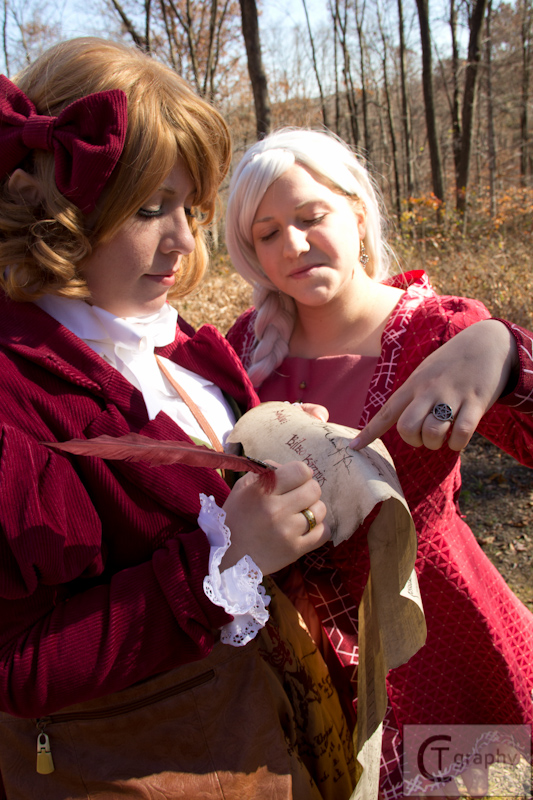
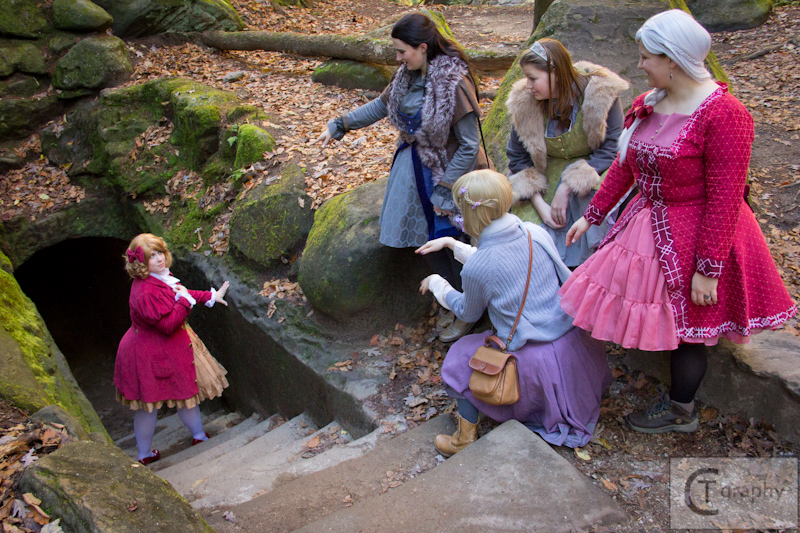
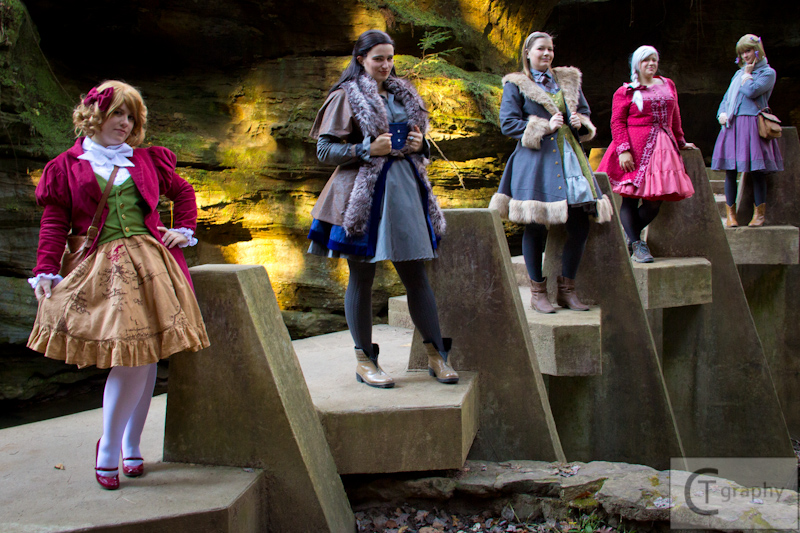
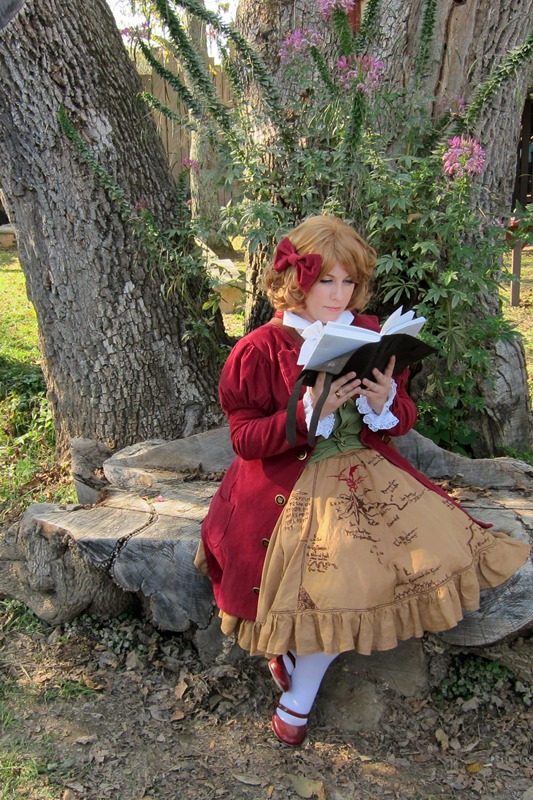
 When I was waffling about which dwarf I should try to replicate, my friends showed me some designs by an artist on Tumblr. She had taken the outfits and styling of the characters from The Hobbit and changed them into Lolita fashion. I’ve never really been one for Lolita, but the thought of having Thror’s map on a skirt was too much for me to pass up. Since I was already taking creative liberty with the character, I had fun embellishing the existing design for Bilbo.
Let’s start from the bottom up.
Shoes:
This is a simple answer. I got them at the thrift store. I always check Volunteers of America or Goodwill first when looking for shoes for cosplay. It’s impossible to afford new shoes for everything, and sometimes thrift stores have something close enough, if not perfect. I was hoping for a chunkier heel, but they were a great color and had the Mary-Jane strap, so I called it close enough.
Tights:
Siren’s design shows Bilbo wearing knee-socks, but I changed it to white tights because I don’t have elegant knees. Or something. I ordered semi-opaque dance tights from Capezio on Amazon (good thing they have easy returns because I accidentally ordered light pink the first time). Dance tights are nice and strong and sort of hold you in (and the opacity is much better than with panty-hose). I’ve recently started using them with all of my costumes, after they came so highly recommended from various sources.
Petticoat:
I carefully weighed my options: battle with yards and yards of tulle and probably cry… orrr spend about $50 to order one online. I ordered it and I don’t regret it at all. I love the shape of the petticoat and it came in white and black, so Thorin got the black while I got the white, giving some consistency between our costumes. My friend who wears Lolita fashion recommended FanPlusFriend and I ordered the Gothic Lolita “Omnipotent” Petticoat. It’s so fluffy and fun to wear that I’m trying to look for other excuses to wear it.
Skirt:
This is my favorite part of the whole outfit and my entire reason for making it. I loved the design of the map on the skirt, and I had the wacky idea of wanting to embroider it, but first I had to make the skirt! The fabric I found that best matched the color of the design and had the look I wanted was a tissue linen in ‘tobacco’ from Jo-Ann Fabrics. I made the pattern for the skirt using a tutorial I found online, starting with a rectangle of muslin, cutting slits in it, and spreading it to make a curve. My skirt has six ‘gores’ or pieces because I wanted it very full. It’s a straight waistband in the front with a half-elastic waistband in the back. I cut the fabric for the ruffle on the bias and it took yards and yards of strips to make that ruffle go all the way around. Thank goodness for the ruffling foot on my sewing machine. I don’t know what I’d have done if I had to gather it by hand!
For the embroidery, I found a high-quality print of the map online (actually a fan replica), enlarged it, and printed it out. Since the skirt curves and the map doesn’t, I had to arrange the pieces carefully and extend a few rivers and trees to keep the general lay-out correct. I stitched right through the paper stencil onto the fabric, which resulted in a lot of time picking out bits of paper (I’m still trying to get it out of Smaug’s wing), but it was the best way I could figure out. The first time I wore it was Dragon*Con, and I didn’t have enough time to finish the whole thing, so I started with the Lonely Mountain and Smaug, since they’re the focus of the map. That took about 10 hours of work. It went over very well at the convention, which gave me to energy to keep going. In all, it was about 52 hours of work to get the whole map on there.
Blouse:
There isn’t much to be seen of the blouse in the original design, and in the movie, Bilbo wears a pretty simple shirt. I flipped though pattern books until I found one that I thought looked Lolita – with pin-tucks and ruffled cuffs and a Peter Pan collar (NewLook 6078). It was nice to have a pattern for one part of it, especially because I’m terrible at making blouses even with a pattern. I used a white cotton from Jo-Ann’s that used to be called ‘Sheermist,’ but now is called ‘Daphne.’ It is quite thin, but has a certain airy quality that I wanted for this blouse. The bow is a piece with the shape inspired by a bow tie – thinner in the back, thicker in the front – to fit under the collar, then have a nice, full appearance in the front.
Vest:
For the vest, I wanted a woven solid fabric to add a subtle texture to my outfit, and that home-y, Hobbit feel. I chose a green weavers cloth, and made matching bias tape. (Bias tape is super easy to make and doesn’t require a fancy machine! In the quilting notions of a sewing store like Jo-Ann Fabrics, there are little metal nozzle-looking things that you pull along in front of your iron and it folds the fabric strip down for you! Making your own bias tape is the way to go when you need to match!) I wanted Bilbo’s vest to seem a like a bodice and less like a man’s vest. I changed the seams to princess seams and added black piping to make them stand out – not that they’re ever seen because I don’t take pictures without the coat! It’s the little details like that that I know are there, even if others don’t, and I enjoy those in the creative process.
Coat:
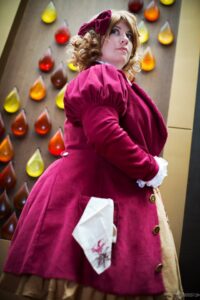
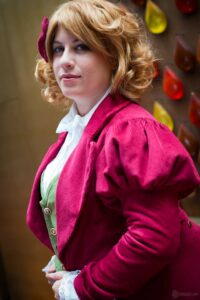
The coat in the movies is clearly corduroy, so that was the easiest fabric choice of the whole outfit. Jo-Ann Fabrics only carries one shade of red corduroy, but it looked just like what I wanted, so I got lucky (My friend who met Martin Freeman while wearing her Bilbo costume made with this material told me that he complemented her fabric choice for the coat, so this fabric has the ‘real’ Bilbo’s seal of approval!!).
I partly used a McCall’s coat pattern for this to help get the front of the coat with the lapels, which are my greatest enemy, for some reason. The back with the darts was patterned by me on my dressform. For the Juliet sleeves, I found a great tutorial online that explains different sleeve types, and how to modify a basic sleeve into five or six different types. It was super handy! My sleeves are poofy enough to put 1980’s wedding dresses to shame! The coat is fully lined and the pockets on the side are big enough to hold my phone!
Buttons:
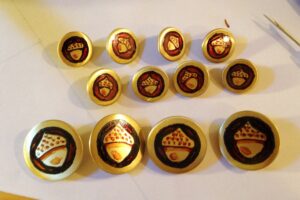 Bilbo has beautiful little acorn buttons, but they don’t seem to exist in real life for purchase. I was going to try to get my friend to mold and cast them for me, when she suggested a simpler solution, and simply painted the design on with markers and sealed them with Mod-Podge. I love helping out friends with bits on their costumes, when it means I get little favors like that in return.
Purse:
 Like my shoes, the purse was a lucky find at Volunteers of America. Having a purse in that design was so lucky because it enables me to carry all of my little props, my phone, makeup for touch-ups, and all sorts of other things. I lucked out because this purse has pockets.
Wig:
My wig is an Inigo in Sandy Brown from Arda Wigs. I like getting wigs from them because they’re thick, good quality, and heat-resistant. They also ship quickly, which is a major plus when working on things in a pinch. I set the original curls with hot curlers, and I can easily go back with a curling iron for touch-ups.
The ears:
 Finally! It’s a finishing touch, best for last, and the last piece I added to my outfit. I wore my outfit to the Ohio Renaissance Festival and purchased the Halfling ears at the Aradani Studios booth, and had them help me put the ears on. They just peek through my curls, and I think it’s a great touch. Like the other hidden details, the small things that most people don’t notice are the more rewarding details to the costumer, I think. The Halfling ears sort of point forward, which is inaccurate to Bilbo, whose ears point back, but they’re close enough for this artistic re-imagining in my opinion. They’re very comfortable, and unless I touch them, I quickly forget I’m wearing them.
Products used in this costume:

